How to Define Curls Without Any Heat
How to Define Curls: My Step by Step Wash Day Method
Here is the thing nobody tells you when you first start embracing your curls: definition does not come from your hair type, it comes from what you do on wash day. I spent years convinced my curls were just like that: frizzy on top, flat underneath, with the odd defined ringlet showing up purely by accident. Sound familiar? Turns out my hair was never the problem. My method was. So if you have ever wondered how to define curls that actually hold their shape, pull up a chair, because this is the exact wash day routine that changed everything for me.
1. Defined curls start with soaking wet hair
Before you touch a single styling product, your hair needs to be wet. And I do not mean damp, I mean dripping, soaking, just stepped out of the shower wet. This is the part most people skip, and it is exactly why their curls fall flat. Water is what lets your curl pattern actually clump and form. The moment your hair starts drying out mid routine, the cuticle lifts, frizz creeps in, and your definition is gone before it ever had a chance. What makes curly hair curly is the shape of the follicle, sure, but what makes it look defined is moisture sitting in a happy, clumped curl. Keep a spray bottle within reach and refuse to let your hair dry out before you are ready.
I will say it louder for anyone still buying their fifth curl cream: defined curls are about method, not another bottle. Getting my technique right did more for my hair than any single product ever has, and that is the hill I happily stand on.
2. Detangle gently before you define
You cannot define a knot. Before any styling happens, your soaking wet, conditioner coated hair needs to be detangled, and the tool you reach for matters more than you would think. A regular brush or fine tooth comb shreds your curl clumps apart and leaves you with a frizzy halo instead of defined hair. I work through mine with my Bamboo Afro Pick, starting at the very bottom and slowly moving up to the roots, so I am easing out individual knots instead of dragging one giant mega knot down to the ends. The long, wide teeth glide through without tugging, so my curl pattern stays intact while the tangles disappear. Be patient here, because rushing this step is where definition goes to die.
3. Define your curls on dripping wet hair
Now for the actual defining. With your leave in conditioner and your gel or mousse, apply everything to soaking hair, scrunching upwards towards your roots in small sections. This is the moment your curls clump together into defined pieces instead of separating into frizz. Two techniques are worth knowing here: praying hands (smoothing product down the length of your hair between two flat palms) and scrunching (pushing your curls up into your scalp). Want to know the secret to defining hair that looks effortless? It is doing less, not more. If you have tighter, coily, or 4c hair, you will need more product and a denser raking motion so every strand gets fully coated, since those patterns drink up moisture ASAP. And once your curls are clumped and happy? Hands off, please. Every extra touch breaks the clump.
4. Dry your curls without killing the definition
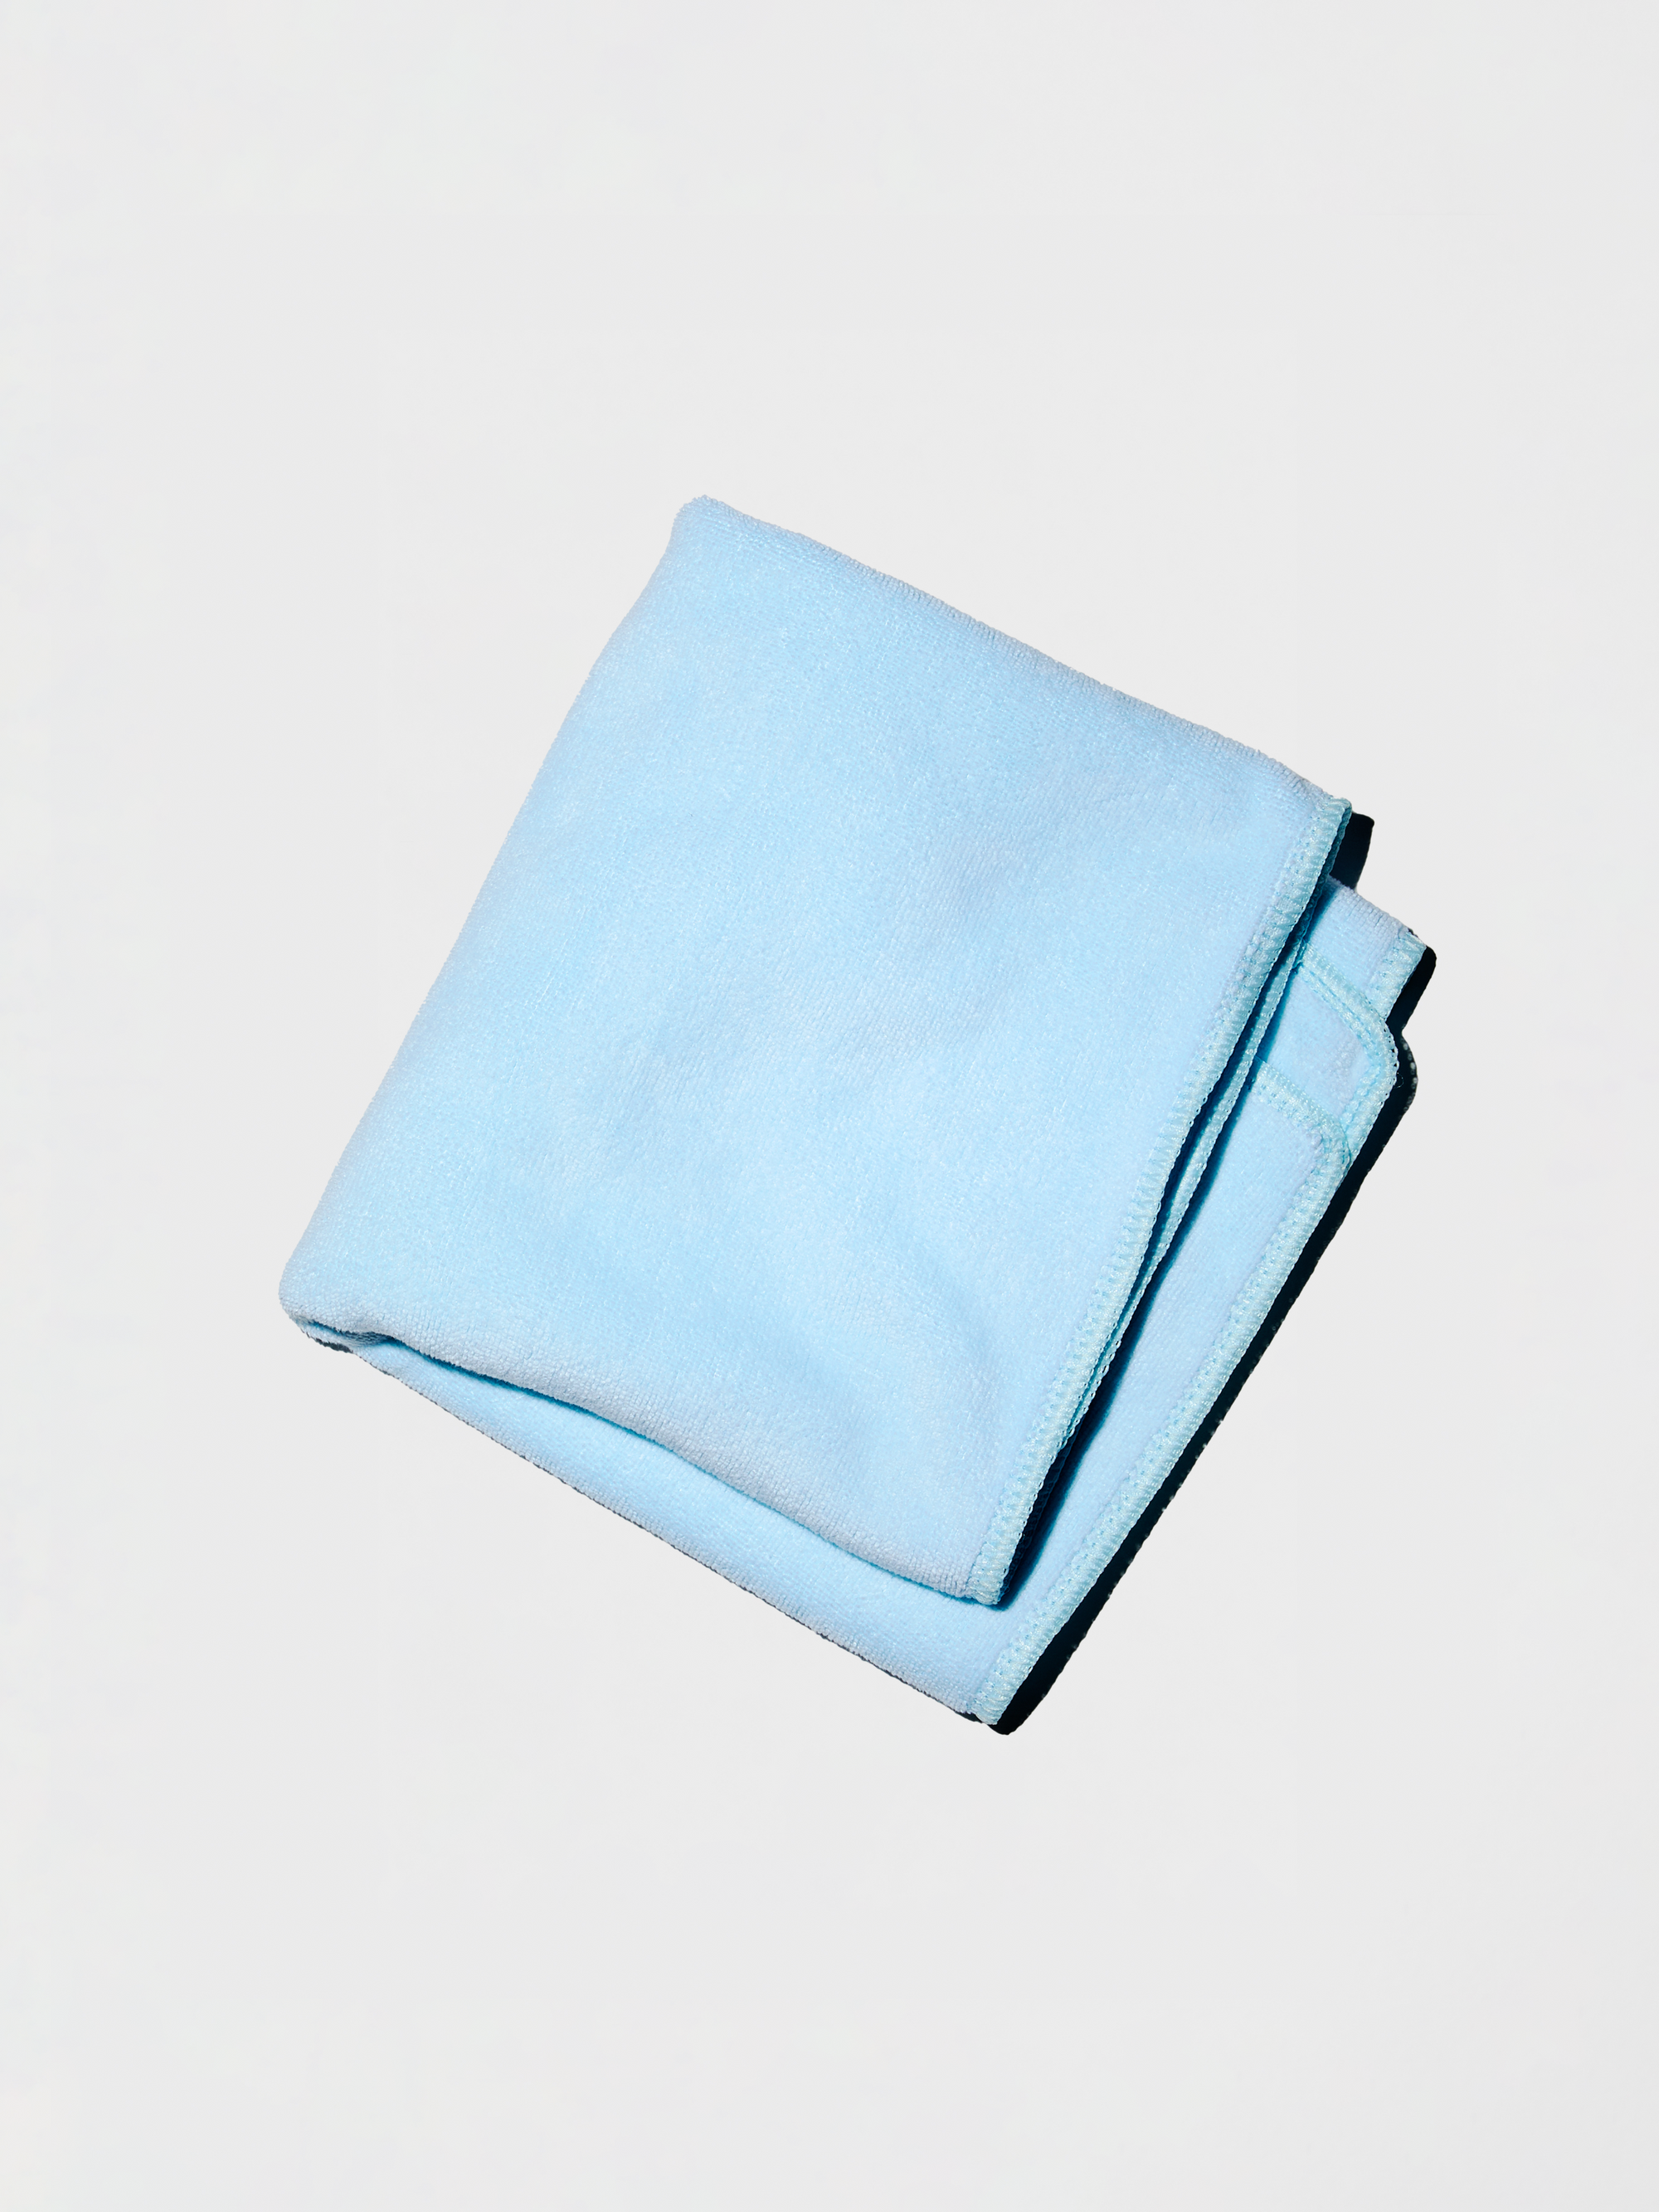
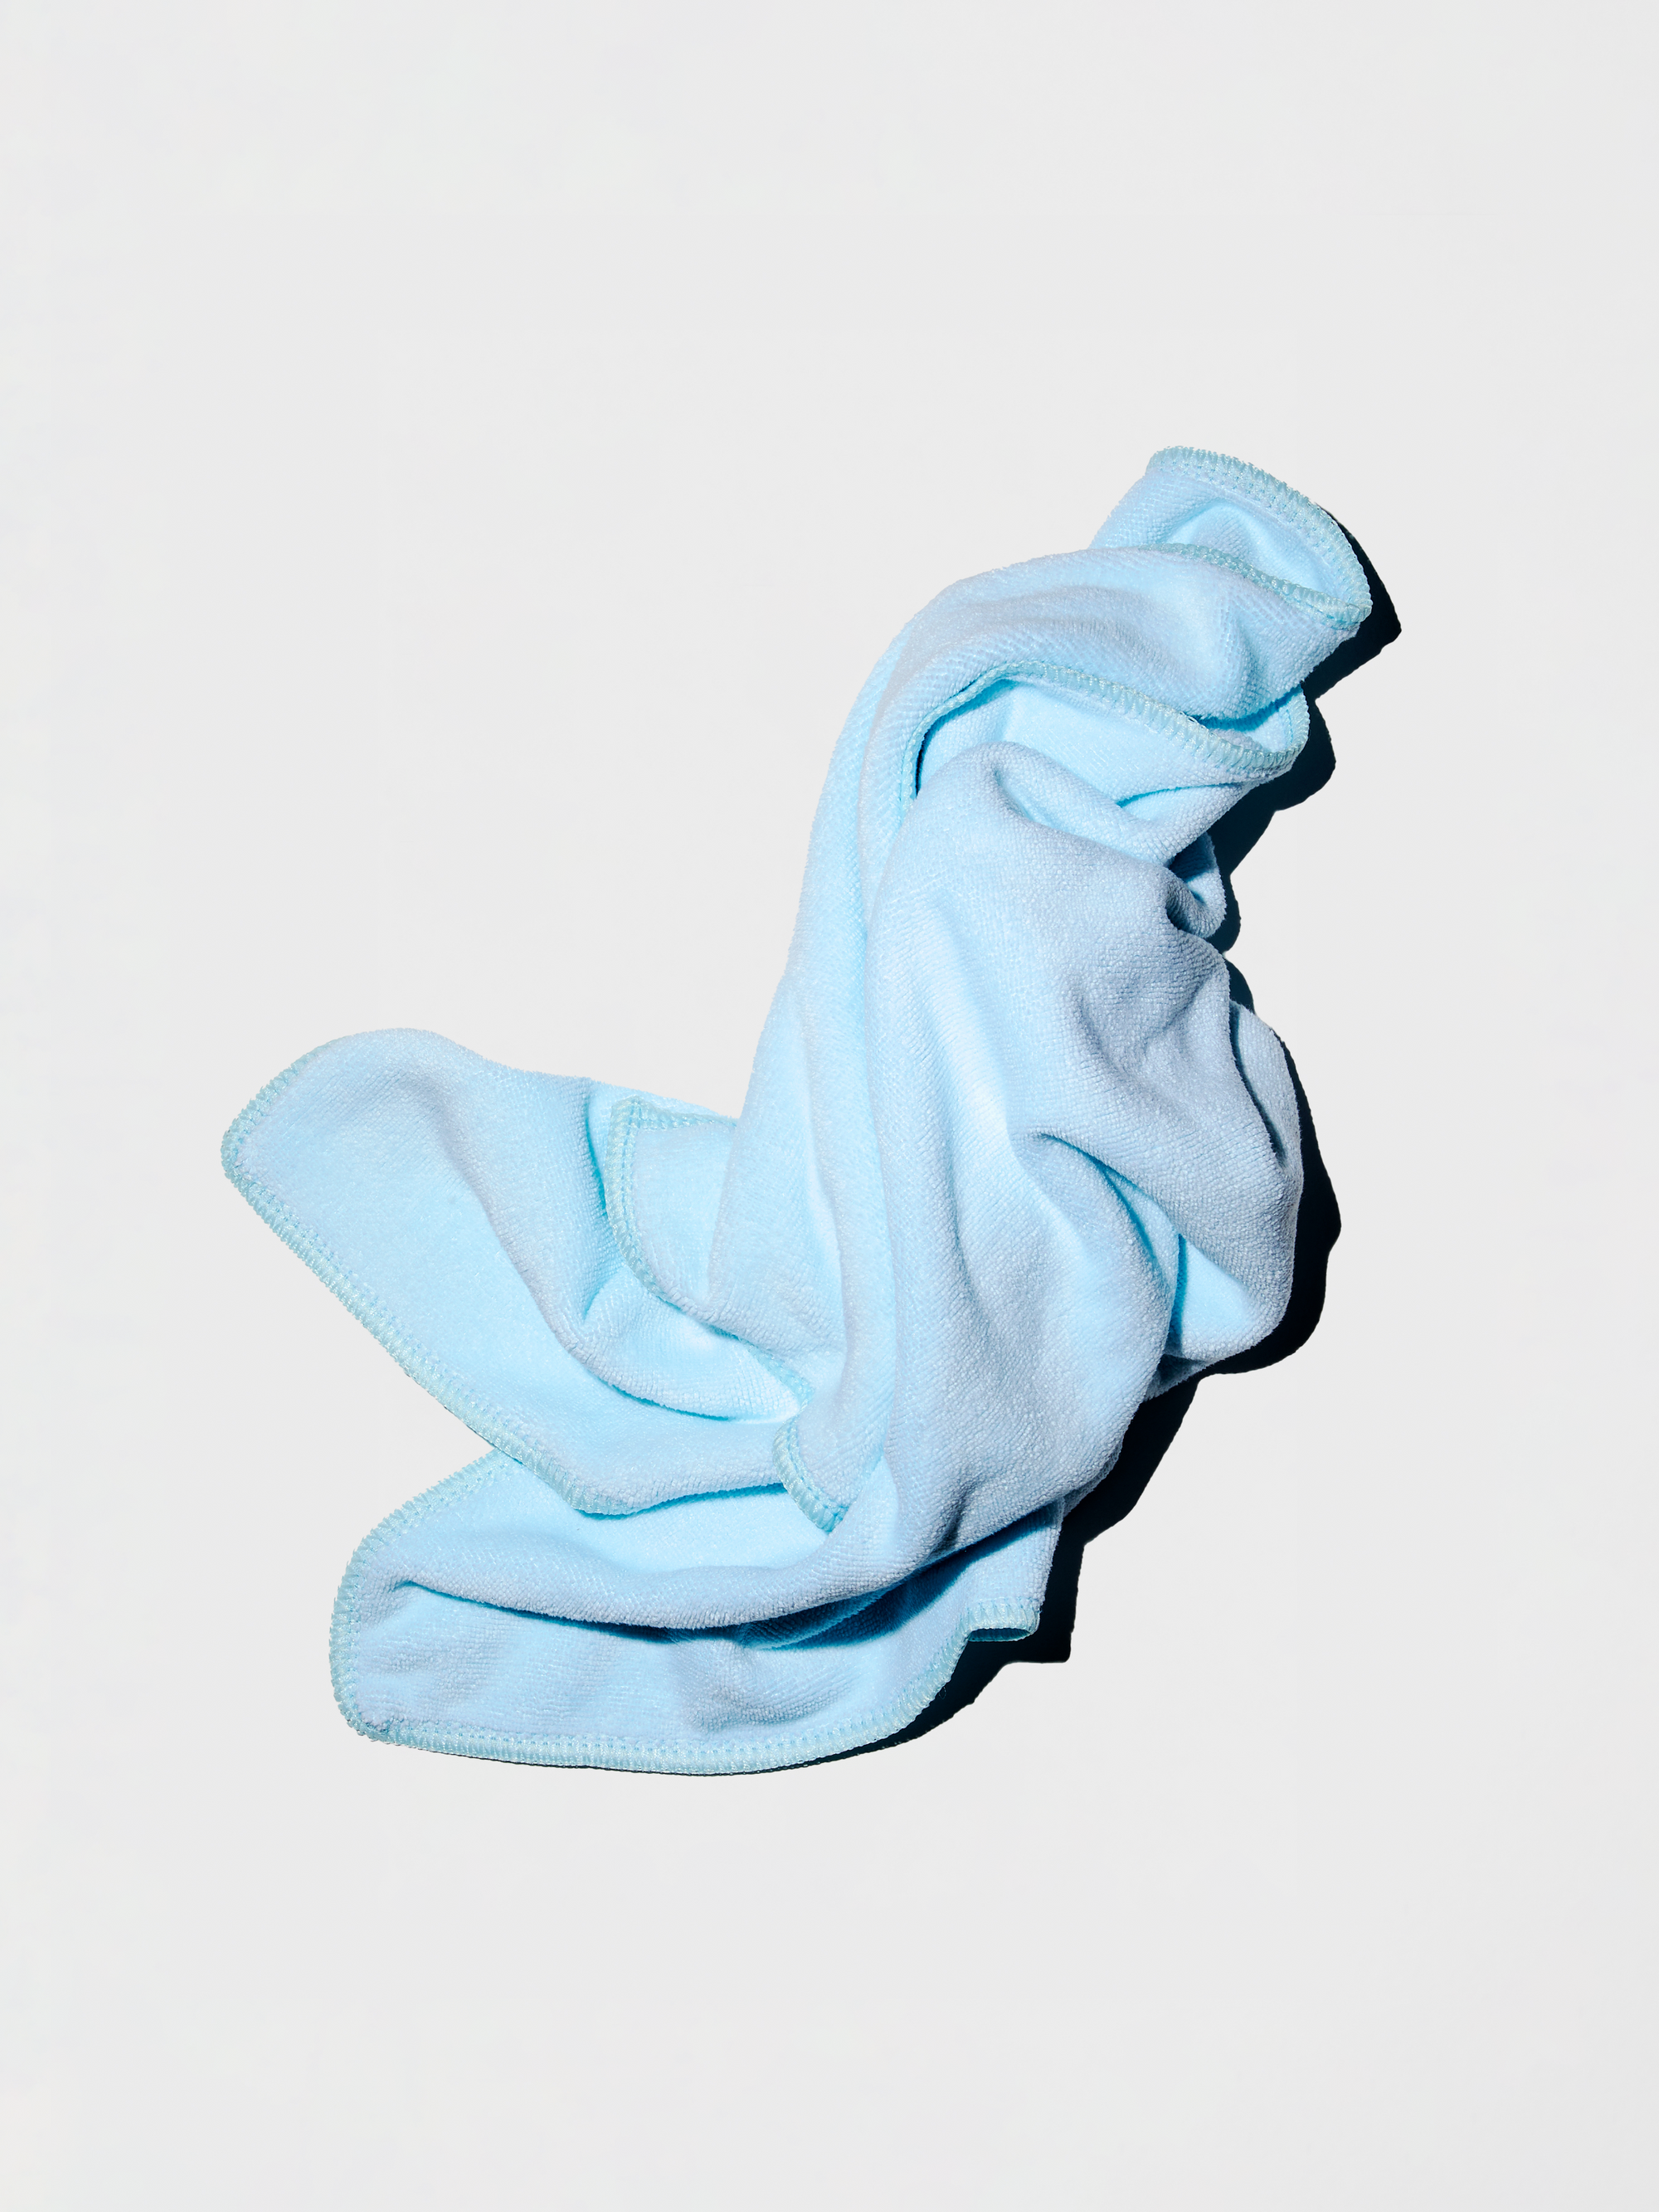
Here is where so much hard work gets undone in seconds. Rubbing your hair with a rough cotton towel roughs up the cuticle and turns your freshly defined curls into a frizz cloud, sigh. Instead, I gently scrunch with the Microfiber Towel, cupping my curls upwards towards my roots to encourage the clumps rather than flatten them. It soaks up the excess water fast without disturbing a single curl. From there, either let your hair air dry or reach for a diffuser on its lowest heat setting, holding it still under each section rather than waving it around.
Everyone online swears air drying gives the most natural result, but in my experience? Letting soaking hair hang wet for three hours just invites droop and frizz. A diffuser on low, or the microfiber towel and a little patience, beats it nearly every time.
5. Scrunch out the cast for soft, defined curls
Once your hair is completely dry, and I mean bone dry, not 90 percent there, you will probably notice a slightly crunchy, crispy feel. Do not panic. That is the gel cast, and it means your curls set exactly as they should. To reveal the soft, bouncy curls hiding underneath, put a tiny drop of oil on your palms, flip your head over, and gently scrunch. The crunch melts away and your defined curls spring right back, frizz free and full of life. This one little step is the entire difference between why is my hair so crispy and wow, how do you get your curls like that.
6. Protect your defined curls so they actually last
You did not put in all that effort just to wreck it overnight, right? Sleeping on a satin or silk surface keeps friction (and the frizz that comes with it) away while you sleep, and gathering your curls into a loose pineapple on top of your head stops them getting crushed flat. If you want your defined curls to genuinely hold for days, not hours, that overnight protection is non negotiable. In the morning, refresh with a light spritz of water and a quick scrunch, and you are defo good to go.
Defining your curls is not about chasing the perfect product or being born with the right hair. It is a method, and once it clicks, it becomes second nature. Start with the basics, soaking wet hair, gentle detangling, hands off drying, and build from there. If you want a full framework to slot all of this into, it sits beautifully inside the curly girl method. Your defined curls have been waiting in there the whole time. Now you finally know how to coax them out.